


How to Avoid Construction Delays From Ground Conditions
Quick Summary
Avoid construction delays from ground conditions by reviewing the site’s history and geology before work starts, then running a staged investigation from desk study to laboratory testing. Build time allowances, hold points and decision triggers for each known risk into the programme so surprises are planned for rather than costly.
- Treat the ground as high risk if two or more checklist items apply, and plan a fuller investigation.
- Soft ground, groundwater and buried obstructions cause most of the delays described in the article.
- Sign off each investigation stage before starting the next, rather than rushing from desk study to drilling.
- Allow time for fieldwork, lab results and design team review before groundworks are programmed.
- Record a time allowance, hold point and decision trigger for every identified ground risk in the programme.
Table of Contents
- Why Ground Conditions Cause Construction Delays
- Identifying High-Risk Ground Conditions Early
- Building a Ground Investigation Workflow From Desk Study to Site Works
- Understanding the Geotechnical Investigation Timeline
- Turning Investigation Findings Into Programme Allowances
- Groundwater, Drainage and Wet-Weather Controls
- Planning Your Next Geotechnical Site Investigation
- Frequently Asked Questions
Why Ground Conditions Cause Construction Delays
Ground conditions are one of the most common reasons building programmes slip. The soil and rock below a site decide how easily foundations, drainage and access roads can be built. When those conditions are not understood early, work stops, gets redesigned or has to be re-sequenced.
Many project teams find that ground problems surface only once excavation begins. A site that looked straightforward on paper can turn out to hold soft clay, a high water table or buried old foundations. Each of these can add days or weeks to a programme.
Soft ground, groundwater and buried obstructions
Three ground issues cause most of the delays we see:
- Soft ground: Weak clay or made ground can stop plant from moving and force a change to foundation design.
- Groundwater: A high water table can flood excavations and slow every task that follows.
- Buried obstructions: Old tanks, pipes or foundations can halt digging until they are found and removed.
Each of these is easier to plan for when it is found early, before a programme is locked in.
Identifying High-Risk Ground Conditions Early
The best way to avoid a delay is to spot the risk before work starts. A short desk review of the site often shows where problems are likely.
Look at the site’s history first. Former industrial use, filled ground and old maps showing removed buildings all point to higher risk. Local geology records can also flag clay, peat or made ground.
Use this checklist before the first spade goes in:
- Has the site been used for industry, waste or storage before?
- Is there any evidence of filled ground or old foundations?
- Are there watercourses, ponds or a shallow water table nearby?
- Does the local geology show soft clay, peat or running sand?
- Are there existing services or underground structures on the plan?
If you tick two or more boxes, treat the ground as high risk and plan a fuller investigation.
Building a Ground Investigation Workflow From Desk Study to Site Works
A clear workflow keeps ground risk under control from start to finish. Most good investigations follow five stages, and each stage should answer a question the next one needs. Skipping the desk study often means the intrusive work misses the key risk entirely.
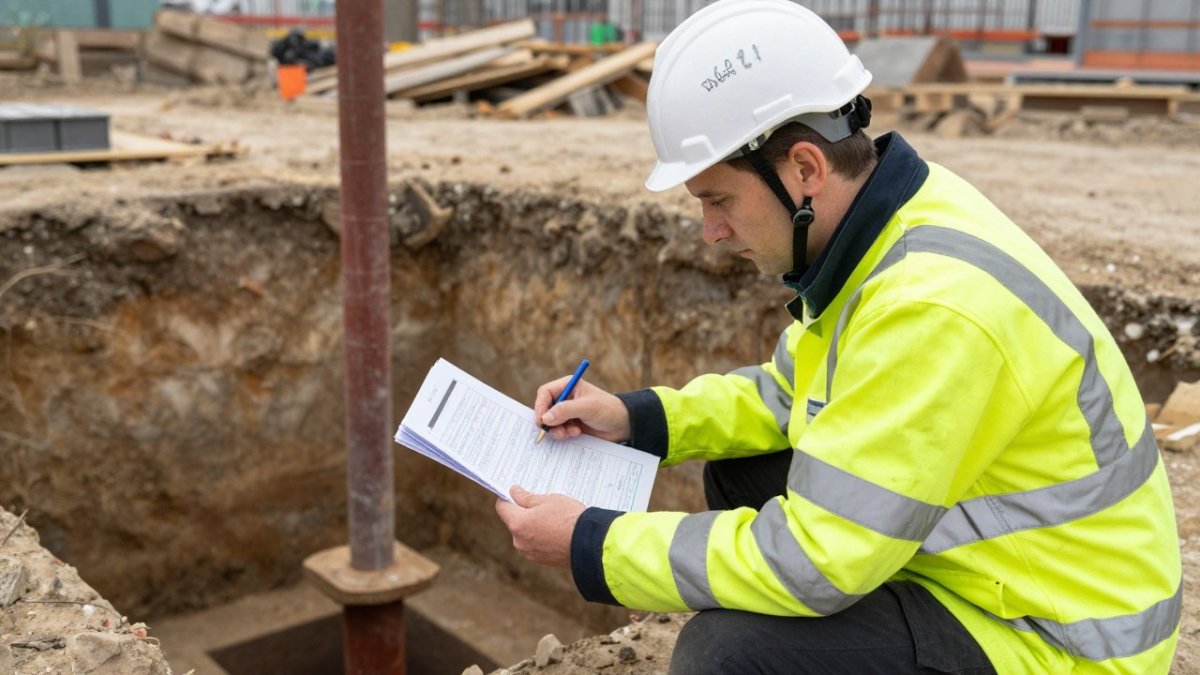
- Desk study: Review historical maps, geological records, environmental data and past uses of the site. This stage is usually quick, often a matter of days, but it sets the targets for everything that follows. Look for former industrial use, filled ground, removed buildings, watercourses and any recorded pollution incidents.
- Site walkover: Walk the site and note ground surface conditions, water, access, existing services and any signs of instability. A walkover can confirm or challenge the desk study findings before money is spent on drilling.
- Intrusive investigation: Drill boreholes or dig trial pits to sample the ground at targeted locations and depths. The scope should be driven by the desk study and walkover, not by a standard template. This is where soft clay, made ground, groundwater and buried obstructions are confirmed.
- Laboratory testing: Test samples for strength, compressibility, contamination and other properties that affect foundation design and excavation methods. Results feed directly into the geotechnical report.
- Reporting and design input: Feed the findings back to the design team and contractor in a format they can use immediately. The report should flag risks, recommend foundation options and identify any areas needing further investigation.
Each stage should be signed off before the next begins. A common pattern is for teams to rush from desk study straight to drilling without a walkover, then discover access problems or unmapped services that delay the fieldwork.
A site investigation that stops at the desk study, or that proceeds to drilling without a walkover, can leave the most serious ground risk unknown until digging starts.
Understanding the Geotechnical Investigation Timeline
A geotechnical investigation takes time, and that time should be planned into the programme from the start. Desk studies are usually quick, while intrusive fieldwork and laboratory testing take longer.
Rushing this stage is a common mistake. Results that come back late, or reports that leave out key data, can stall the next phase of work. Build in time for fieldwork, lab results and a review by the design team before groundworks are programmed.
Ask your investigation provider how long each stage will take and what could slow it down, such as weather or access.
Turning Investigation Findings Into Programme Allowances
Findings are only useful if they change the programme. Once the report is in, the project team should translate each ground risk into a time allowance, a hold point and a decision trigger. This is where most programmes either gain resilience or quietly absorb risk that later becomes a delay.
Start by listing every ground risk the investigation identified, soft clay, made ground, contamination, groundwater, buried obstructions, variable strata. For each one, record three things:
- Time allowance: How many working days might this risk add if it materialises? For example, if soft clay is found, the programme might allow extra days for ground improvement or a redesigned foundation. If groundwater is high, the plan might include time for dewatering before excavation.
- Hold point: At what stage must work stop so the risk can be reviewed before proceeding? A hold point after trial pits but before foundation design is common.
- Decision trigger: What finding would cause the team to change the design, the method or the sequence? For instance, if contamination is confirmed above a certain threshold, the trigger might be a redesign of the drainage strategy or a change to the excavation method.
Record these allowances clearly in the programme and in the risk register. To see what a planning submission needs to include, read our geotechnical report guide for planning permission. They protect the programme when a risk turns into a real problem, and they make it easier to explain any change to the client. A common pattern is for teams to carry a single contingency figure without linking it to specific risks, which means the allowance is either too small for the real problem or too large to defend.
Where the investigation leaves uncertainty, for example, variable strata between boreholes, the programme should include a hold point for further investigation during groundworks. This is not a sign of poor planning; it is a realistic response to ground that cannot be fully known before digging.
Watch out: if the programme has no hold points, the first sign of an unexpected ground condition will be a stoppage with no pre-agreed response, and that is when delays become disputes.
Groundwater, Drainage and Wet-Weather Controls
Water is a frequent cause of delay on site. Rain and groundwater can turn a dry working area into mud within hours.
Plan drainage before groundworks begin. Temporary channels, sumps and pumps can keep excavations workable. Where possible, schedule the wettest tasks for drier months, and keep a contingency for wet weather in the programme.
Protect exposed ground with surfacing or geotextiles so plant can keep moving. Simple controls like these often save more time than any single piece of equipment. Where the ground is weak or wet, lime and cement stabilisation testing can provide a practical remedy.
Planning Your Next Geotechnical Site Investigation
When you plan your next investigation, start with the risks you already know about. Share the desk study with the investigation team so they can target the right locations and depths.
Set a clear scope, including the number of boreholes, the depth of testing and the laboratory tests needed. Ask for a timeline and a report format that your design team can use straight away.
Pricing depends on the scope, the number of boreholes and the laboratory testing required. For current prices or a tailored quote, visit The Testing Lab’s website, or contact the team to discuss your site.
The article’s key steps for planning an investigation, summarised so you can see what to set in place before drilling starts.
| Step | What to do | Timing |
|---|---|---|
| Share the desk study | Give the investigation team known risks so they target locations and depths | Before scope is set |
| Set the scope | Agree number of boreholes, testing depth and lab tests | Before fieldwork |
| Request a timeline | Ask the provider how long each stage takes and what could slow it | Before booking |
| Agree report format | Ask for a report your design team can use straight away | Before fieldwork |
| Get a tailored quote | Contact the provider with your site details for a quote | Before committing |
Frequently Asked Questions
How can ground conditions delay a construction project?
Unexpected ground conditions can stop work while the design team reassesses foundations, drainage or excavation methods. Soft or made ground, high groundwater and buried obstructions are common causes. Each stoppage can push back later trades, and the knock-on effect often reaches the completion date. A geotechnical site investigation carried out before works start reduces the chance of these surprises and gives the programme team realistic allowances to plan around.
When should a geotechnical site investigation take place?
A geotechnical site investigation should take place early, ideally during feasibility or design and before the construction programme is fixed. Results inform foundation choices, earthworks strategy and the sequencing of groundworks. Commissioning the investigation late often means redesign and programme slippage. Your project team can agree the scope with a geotechnical consultant once the proposed structure and site layout are known, and then update the investigation if the scheme changes significantly.
What should a ground investigation report include?
A ground investigation report typically sets out the scope of works, the exploratory positions, borehole and trial pit logs, laboratory soil testing results and groundwater observations. It should also include a ground model describing the strata expected across the site, along with geotechnical recommendations for foundations and excavations. Clear risk commentary helps the project team turn findings into programme allowances and identify any further investigation needed before works begin.
What should a project team do if site conditions differ from the investigation?
If site conditions differ from the investigation, stop and record the change before continuing. Photograph the exposed ground, note its location and inform the geotechnical engineer and the site manager promptly. A targeted supplementary investigation may be needed to confirm the revised ground model. Agree any change in method or programme in writing with the client and design team so that the impact on cost and time is recorded and managed properly.